The Economics of Hydrology: A Strategic Approach to Site Drainage
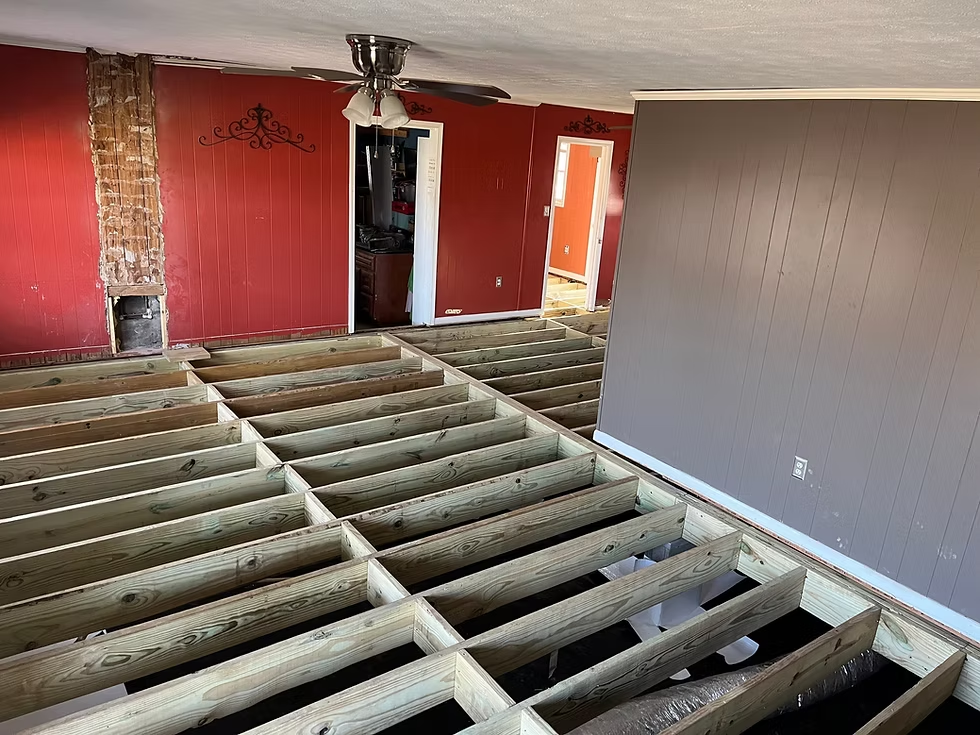
How to plan perimeter drainage on a budget the management of surface and subsurface water is arguably the most critical factor in the long-term preservation of a building’s structural integrity. When groundwater is allowed to saturate the soil immediately adjacent to a foundation, it initiates a series of entropic processes—hydrostatic pressure, soil expansion, and capillary wicking—that can compromise even the most robust masonry. For many property owners, the prospect of a professional drainage overhaul is met with financial trepidation, as the conventional industry response often involves massive excavation and high-capital mechanical systems.
However, effective water management is not inherently tied to the size of the contractor’s bill. It is, instead, a function of strategic planning and a deep understanding of site-specific topography. The complexity of modern drainage lies in the balance between immediate runoff control and long-term soil stability. To address these needs without exhausting a capital budget, one must move away from the “over-engineering” trap and toward a system that leverages gravity, passive filtration, and existing landscape features. This shift requires a departure from reactive, emergency repairs and an embrace of analytical site mapping.
The strategic challenge is to identify the “critical path” of water across a property and intercept it using the most cost-efficient materials available. This article provides a comprehensive framework for those seeking to mitigate moisture risks while maintaining strict fiscal discipline. By focusing on the physics of water movement and the lifecycle of drainage materials, a property owner can develop a system that is both economically viable and structurally definitive.
Understanding “How to Plan Perimeter Drainage on a Budget”
To successfully execute a drainage project, one must first dismantle the prevailing industry myth that “expensive” equals “effective.” When we analyze how to plan perimeter drainage on a budget, the focus shifts from high-cost mechanical evacuation (like triple-redundant sump pumps) to passive, gravity-fed systems. This perspective requires a multi-faceted evaluation of the property. From an engineering standpoint, the budget is preserved by minimizing “imported” materials—such as high-tonnage gravel—and maximizing the use of the site’s natural slope.
Oversimplification is a significant risk in budget planning. Many believe that simply digging a trench and filling it with pipe is enough. However, without a nuanced understanding of “siltation” and “soil permeability,” a budget drain can become a clogged liability within a single season. A low-cost system must be more intelligently designed than an expensive one because it lacks the “brute force” of high-powered pumps to overcome design flaws. It relies entirely on the precision of the grade and the integrity of the filtration layers to remain functional over decades.
Furthermore, the “budget” aspect is not just about the initial purchase of PVC or corrugated pipe; it is about the “Total Cost of Ownership.” A system that is cheap to install but requires annual professional cleaning is not a budget system—it is a deferred expense. Therefore, a truly strategic plan incorporates “clean-out ports” and “sediment traps” at the design phase. These features allow the homeowner to maintain the system with simple tools, effectively “governing” their own hydrology without recurring contractor fees.
Deep Contextual Background: The Evolution of Residential Runoff
How to plan perimeter drainage on a budget historically, American residential drainage was a rudimentary affair. Early colonial foundations often relied on “dry-laid” stone, which allowed water to pass through the wall and into a simple central floor drain. As basements became “finished” living spaces in the mid-20th century, the industry moved toward the “exterior tar” and “gravel footer” model. This era assumed that if you blocked the water at the wall and gave it a pipe to sit in, the problem was solved. However, as suburban density increased, the “borrowed” water from neighboring properties began to overwhelm these simple systems.
The 1980s and 90s saw the rise of the “French Drain” as a household term, but it was often misapplied as a universal solution. Today, we are in an era of “Low Impact Development” (LID). This modern philosophy recognizes that discharging water into the municipal street drain is often illegal or environmentally irresponsible. The vanguard of budget drainage now focuses on “on-site infiltration”—using swales, rain gardens, and dry wells to handle water where it falls. This evolution represents a return to natural hydrological cycles, albeit with modern materials like non-woven geotextiles and high-density polyethylene (HDPE).
Conceptual Frameworks and Mental Models for Drainage
To plan effectively, one must employ several mental models that simplify the physics of water:
-
The “Water Highway” Model: Every property has a natural path that water wants to take. Budget planning involves finding this “highway” and smoothing it, rather than trying to build a “detour” (which is always more expensive).
-
The “Velocity vs. Volume” Framework: Water damage is a product of both how much water there is and how fast it is moving. In budget drainage, we use “roughness” (like rip-rap or ground cover) to slow the velocity, which reduces the structural burden on the perimeter pipes.
-
The “Infiltration Sink” Model: Think of the property as a sponge. In a budget plan, we identify the parts of the yard that can absorb the most water (the “sinks”) and direct the perimeter runoff there, avoiding the need for expensive long-distance piping to the street.
Key Categories of Perimeter Systems and Trade-offs
A budget-conscious plan requires a surgical selection of drainage types based on the specific “threat profile” of the house.
Decision Logic: The “Gravity-First” Rule
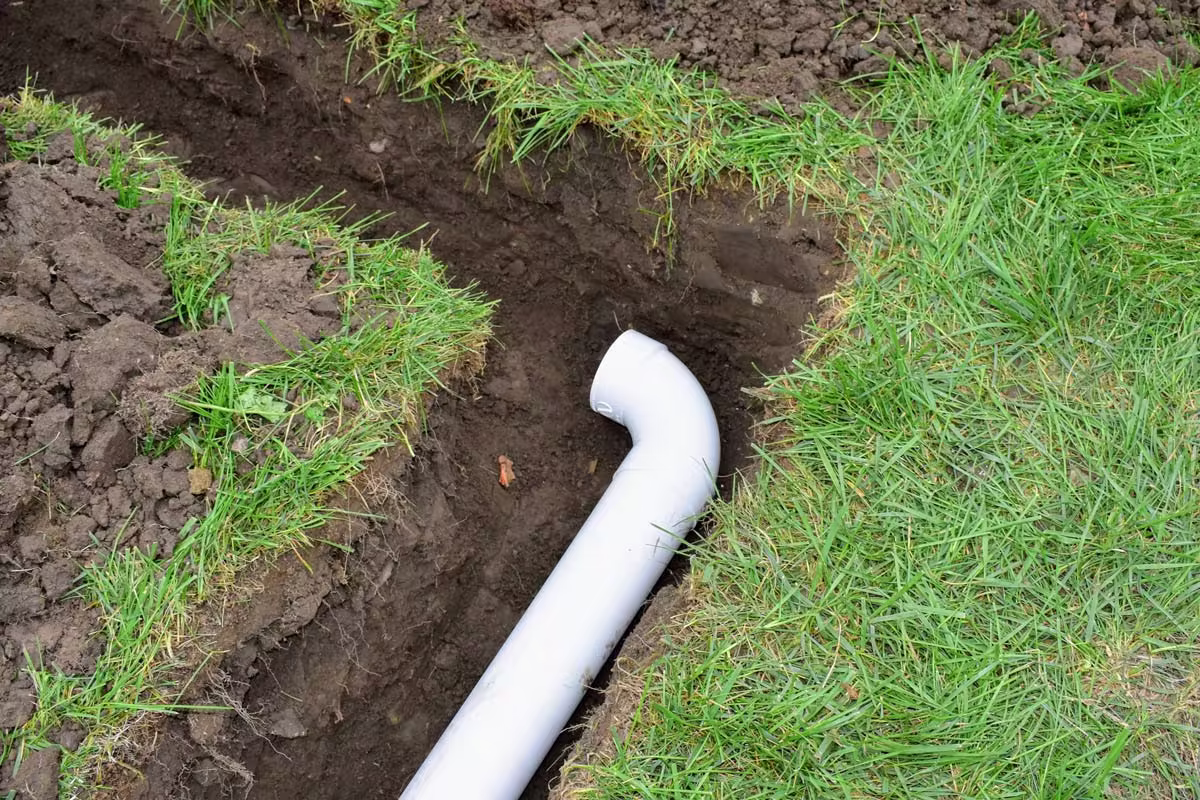
The primary logic for a budget plan is to avoid lifting water. If a plan requires a sump pump, the budget is immediately burdened by electrical costs, mechanical maintenance, and the risk of failure during power outages. Always seek a “Daylight” discharge—where the pipe simply exits at a lower point on the property.
Detailed Real-World Scenarios and Decision Logic
Scenario A: The Sloped Backyard Surge
A home sits at the bottom of a hill. During storms, water rushes toward the back wall. The budget logic here is to avoid a deep foundation drain initially and instead install a “Diversion Swale” at the property line. By moving the water around the house at the surface, you reduce the hydrostatic load on the foundation by 80% for the cost of a few hours of digging and some grass seed.
Scenario B: The “Bathtub” Foundation in Clay
In heavy clay, water stays trapped against the wall. A budget plan here focuses on “Vertical Drainage.” Instead of a full-perimeter dig, one might install “Chimney Drains”—vertical columns of gravel placed at the corners and mid-points—that allow water to drop quickly to a lower-cost, shallow footer pipe.
Planning, Cost, and Resource Dynamics How To Plan Perimeter Drainage On A Budget
The “budget” in drainage is won or lost in the “Inert Materials” category. Gravel is the most expensive component of a French drain because of its weight and delivery costs.
-
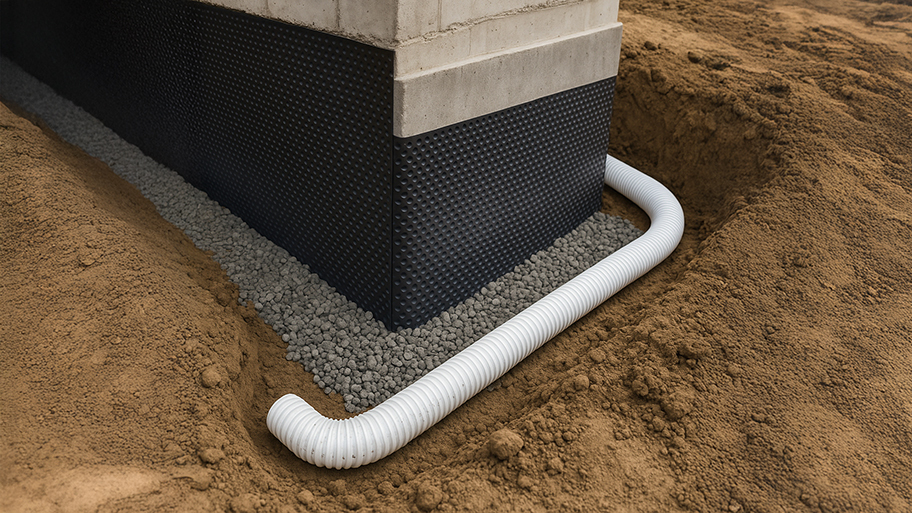
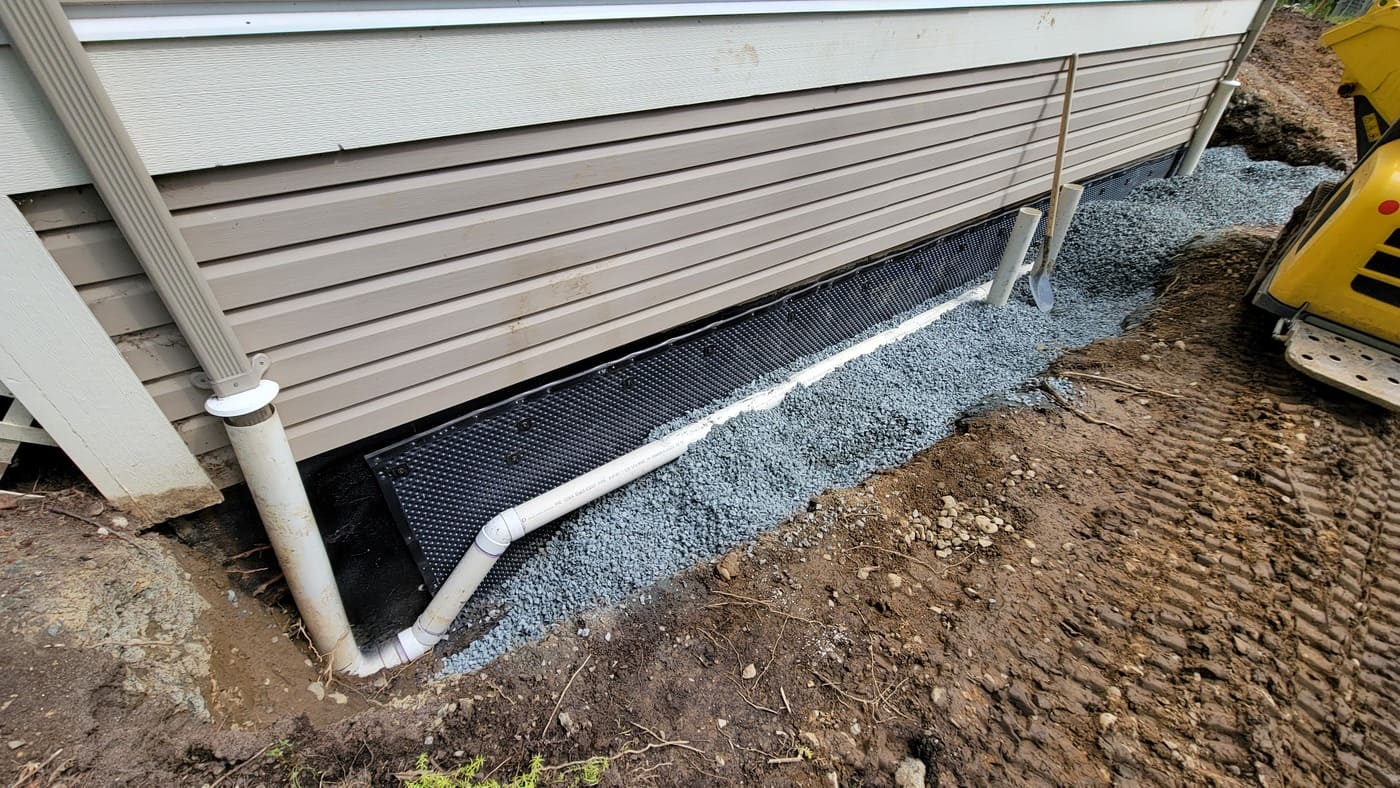
Direct Costs: Perforated pipe (PVC is better but more expensive than corrugated), geotextile fabric (non-negotiable for longevity), and drainage stone.
-
Indirect Costs: Disposal of “spoils” (the dirt you dug out). In a budget plan, you find a place on-site to use the dirt—such as building a berm—to avoid the high cost of hauling it away.
-
Opportunity Cost: Choosing “unwashed” gravel to save $50. Unwashed gravel contains “fines” (dust) that will immediately wash into your pipe and clog the system, effectively wasting the entire installation budget.
Tools, Strategies, and Support Systems
To successfully implement a plan, the following strategies are essential:
-
Transit or Laser Level: Essential for ensuring the 1% slope (1 inch drop per 8 feet). Guessing the slope is the #1 cause of budget drainage failure.
-
Filter Socks: An extra layer of defense for pipes in sandy soil.
-
Clean-out Tees: Installing Y-junctions that reach the surface, allowing for a pressure-washer “jetting” if the system ever slows down.
-
Pop-up Emitters: A low-cost discharge point that remains closed to debris and rodents but opens under water pressure.
-
Burrito Wrap Method: A strategy where the gravel and pipe are completely encased in fabric, preventing the surrounding soil from “infusing” into the stone.
-
Sod Stripping: Carefully removing and setting aside the grass before digging so it can be replaced immediately, eliminating landscaping costs.
Risk Landscape and Failure Modes How To Plan Perimeter Drainage On A Budget
The “Budget Trap” occurs when a homeowner sacrifices a critical component for an immediate saving.
-
The “Fines” Failure: Using cheap, dirty rock that clogs the fabric.
-
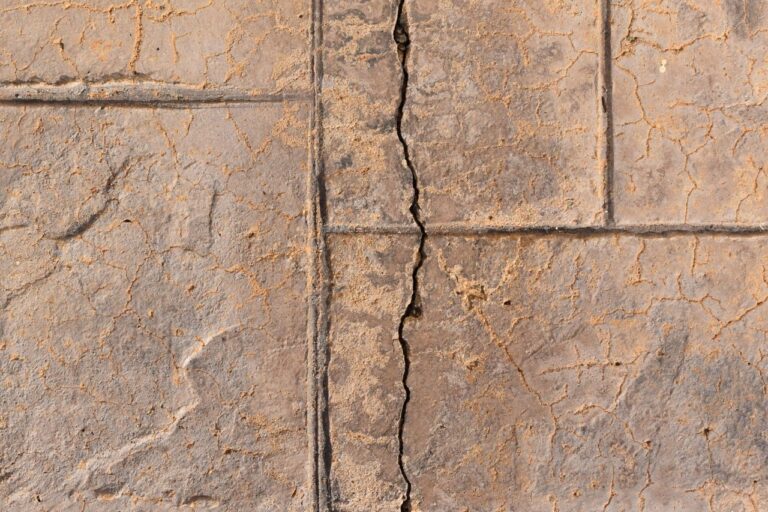
The “Flat-Pipe” Failure: Losing the slope due to poor trench bottom preparation. If the pipe “bellies,” sediment will settle in the low spot and eventually create a solid plug.
-
The “Root Intrusion” Risk: Planting water-loving trees (like Willows or Maples) near a perimeter drain. The roots will find the perforated pipe and fill it in search of water.
-
The “Compaction” Failure: Driving heavy equipment over a newly installed drain, crushing the pipe or compacting the “permeable” backfill into an impermeable block.
Governance, Maintenance, and Long-Term Adaptation
A drainage system is a “living” asset. It requires an annual “Governance” cycle to remain functional on a budget:
-
Spring Flush: Running a garden hose into the clean-out ports to ensure water is exiting the daylight end at full volume.
-
Grate Clearing: Removing leaves and debris from catch basins and emitters.
-
Berm Reinforcement: After the first few heavy rains, checking for soil settlement near the trench and adding more soil to maintain the “positive grade” away from the house.
-
Debris Management: Ensuring that mulch from garden beds isn’t washing into the swales, which can raise the elevation and “flip” the grade back toward the foundation.
Measurement, Tracking, and Evaluation How To Plan Perimeter Drainage On A Budget
How do you evaluate a budget plan?
-
Leading Indicator: The “Percolation Rate.” If you pour 5 gallons of water into a catch basin, it should disappear instantly. If it lingers, the “sink” is failing.
-
Lagging Indicator: Sump pump cycle reduction. If you have a pump, it should run 50–70% less often after the perimeter drainage is installed.
-
Qualitative Signal: The “Squish Test.” Walking the perimeter 24 hours after a rain; if the ground is firm, the system is working. If it is “squishy,” the water is being managed, but not evacuated quickly enough.
Common Misconceptions and Oversimplifications
-
Myth: “Corrugated pipe is just as good as PVC.” Reality: Corrugated pipe is harder to clean and easier to crush. For foundation-critical areas, PVC is the “budget-smart” choice.
-
Myth: “You can use pea gravel.” Reality: Pea gravel is too small and “tight.” You need 3/4-inch to 1.5-inch “clean crushed stone” to provide the necessary void space for water flow.
-
Myth: “The deeper, the better.” Reality: A drain should only be deep enough to intercept the water. Digging deeper than necessary just increases the cost of gravel and excavation.
-
Myth: “Landscape fabric is all the same.” Reality: Woven fabric (like weed barrier) is for stability; non-woven is for drainage. Using the wrong one will lead to a “clogged” system that doesn’t let water through.
-
Myth: “I can just dump the water at the property line.” Reality: Most jurisdictions consider this a “nuisance” and can fine you. You must manage the discharge within the legal framework of your site.
Conclusion How To Plan Perimeter Drainage On A Budget
To master how to plan perimeter drainage on a budget is to accept the role of a “Site Hydrologist.” It requires patience, precise measurement, and the discipline to invest in the right materials (like non-woven fabric and clean stone) while saving on the “brute force” components of the industry. A well-designed, gravity-fed system is not just a cheap alternative; it is often a more resilient and permanent solution than its high-powered mechanical counterparts. By redirecting the energy of a storm through strategic topography and passive filtration, a homeowner can ensure their foundation remains a dry, stable anchor for the building above.